|
|
Make sure that you have the latest version of the WebsydianExpress for Windows installation program.
WebsydianExpress supports current versions of Windows workstation and server supported by Microsoft.
This version of WebsydianExpress requires Microsoft SQL server 2000, 2005 or 2008. If you do not have one installed we recommend installing the Microsoft SQL 2008 Express Edition.
The Microsoft SQL Server Express Editions can be downloaded from the Microsoft site.
A servlet engine is required to run WebsydianExpress. If you have not all ready installed a Servlet Engine we recommend installing the Apache Tomcat servlet engine.
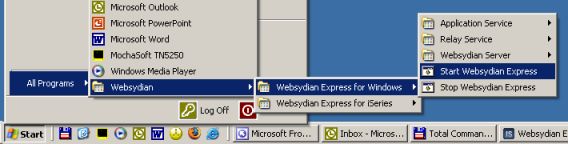
Execute the installation program Express_v3.0.4_Windows.exe. That will start the installation process for installing and configuring the WebsydianExpress components.
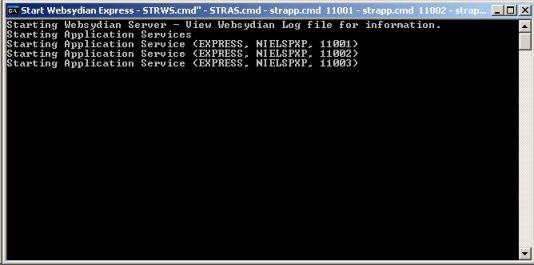
The installation program will now perform the following tasks:
During the installation you will be prompted to deploy the Websydian Web Server Component on your Tomcat make sure that you reply Yes to this prompt.
If you forgot to install Tomcat locally prior to running the installation program install Tomcat and run the program Pack.exe found in the library <Target Dir>\Web Server Component. Make sure that you leave all parameters unchanged and when prompted to deploy the Websydian Web Server Component on the installed Tomcat reply Yes.
During the installation the installation program creates the required Web Archive file (WAR-file) to be used to deploy the Web Server Component servlet to the servlet engine selected.
Information about where to locate the WAR file to be used is displayed on the web page being generated by the installation program.
For information on how to deploy the WAR file please consult the documentation of the selected servlet engine.
Please note that if the hostname of the computer where the installation program is being run corresponds with the hostname of the Web Server Component and an instance of the Tomcat Servlet Engine has been installed the installation program will prompt the user for automatically deployment of the Web Server Component servlet.
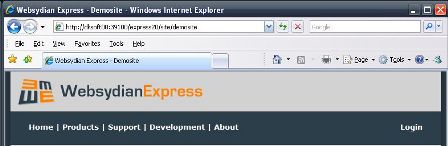
http://<HostName>/express30/site/demosite
Make sure that you replace the '<HostName>' with the host name of your computer
Login with user Customer and password Customer to login to one of the sites and access the administration interface.
The web address used in this example is based on the default settings used by the installation program.
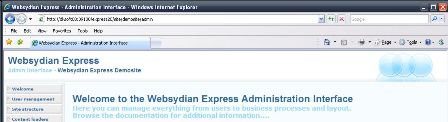
In order to access the administration part of the demosite append /admin to the url
http://<HostName>/express30/site/demosite/admin
Make sure that you replace the '<HostName>' with the host name of your iSeries
Login with user WSADMIN and password ADMIN in order to access the administration interface of the demosite.
By default the WebsydianExpress is installed with an unregistered license of the Websydian Server providing 10 concurrent sessions.
You have the option to obtain a registered version for 10 concurrent sessions for free that enables you to find a starting point on the number of concurrent sessions required by your applications.
For pricing on concurrent sessions please contact info@websydian.com.
The following are the steps to complete in order to completely remove WebsydianExpress v3.0 for Windows from your system
If you are having problems installing WebsydianExpress please contact Websydian support at support@websydian.com and attach the following information: