|
|
Before you perform the upgrade as described in this document, ensure that you have read the what's new document and the general upgrade guide for version 3.0.4 and have investigated all issues that are relevant for your installation.
Note that this document only describes upgrading from version 3.0 and later to version 3.0.4. If you are at earlier versions, you must start by upgrading to version 3.0.
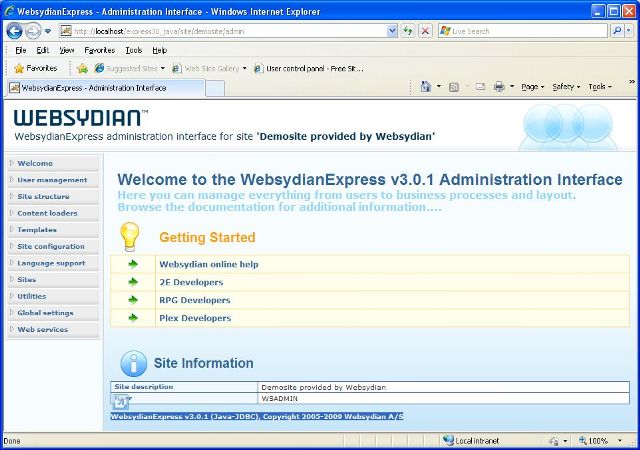
Your current version can be found by opening the WebsydianExpress administration interface and looking at the Welcome page. At the top and at the bottom you will find the current version of your WebsydianExpress installation.
Please note that upgrading to the latest version of WebsydianExpress v3.0 might require that you obtain a new Websydian Server license. Please forward your sitecode (located in the Websydian Server log file) and we will provide you with the new license file before you proceed with the upgrade.
Go to the WebsydianExpress download page and download the zip-file: Upgrade WebsydianExpress for Windows to version 3.0.4.
Unzip this file to your disk. This creates a folder structure:
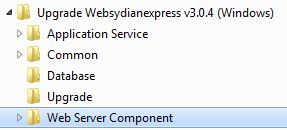
The directories of the unzipped file holds all required files to upgrade your existing WebsydianExpress for Windows to v3.0.4.
A number of new tables and views have been added to the WebsydianExpress database.
The step of upgrading your WebsydianExpress web server component depends on your platform and type of Servlet Engine used. Below you will find a number of scenarios that should help you out.
If you normally use the pack.exe to package your WAR file and optimally automatically deploy on a local Tomcat instance just run the Pack.exe located in the Web Server Component directory.
Restart the WebsydianExpress web server component by restarting the servlet engine or using the servlet engine administration interface to restart the servlet holding the component.
Manually copy the new and updated files located in the directory Web Server Component\webcontainer to your Tomcat instance. By default the target directory of these files are C:\Program Files\Apache Software Foundation\Tomcat 6.0\webapps\express30 but this might vary.
If you deployed the Websydian web server component as a WAR file you will need to update the WAR file as described below.
Restart the WebsydianExpress web server component by restarting the Tomcat service.
Start by obtaining your current version of your deployed WAR file. Normally the WAR file will be available on the server where you deployed the WAR file in the first place.
Restart the WebsydianExpress web server component by restarting the servlet engine or using the servlet engine administration interface to restart the servlet holding the component.
Any questions on updating your WebsydianExpress web server component please contact the support team.
As version 3.0.4 introduces a new administration menu item, you need to upgrade the administration interface using the "Update Admin" menu item for each of your sites.