Deploying Websydian Applications on OmniHTTPd
Contents
- Before continuing make sure you have Generated and Build your
Websydian Application.
Successful Generation and Build of
Websydian Applications
- Download and install the OmniHTTPd from the website http://www.omnicron.ca
During installation answer no to run OmniHTTPd as service.
- Start the OmniHTTPd server.
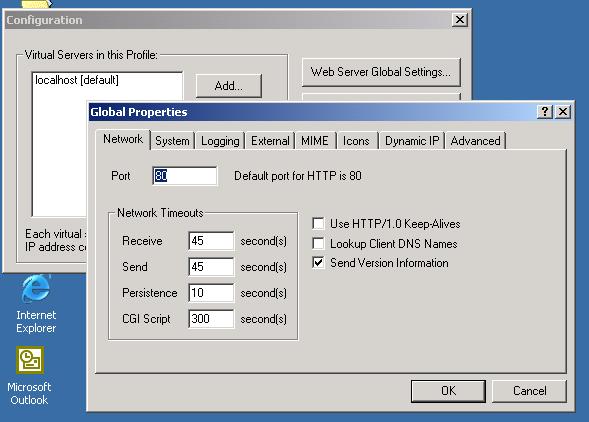
If you have IIS or PersonalServer installed make sure to change the port the OmniHTTPd is listining on to e.g. 8080.

- Create a directory on the Web Server where you will be
installing the Websydian application.
e.g. c:\websydian\webtutor
- Copy the files located in your "release" directory to
the Websydian directory just created.
- Create a directory called html as a subdirectory to the
Websydian directory. e.g. c:\websydian\webtutor\html
- Copy your Document Templates to the html directory.
- From your AllFusion Plex bin library copy the AllFusion Plex runtime DLL's
to the Websydian directory.
Further information on which DLL's to copy see the AllFusion Plex help.
- If using any Active-X controls make sure to copy these to.
- Open the ini-file located in the Websydian directory with the
notepad.
Check the section [HTML] for the following settings:
[HTML]
PATH=.\HTML\
DATE=dd/mm/yyyy
TIME=hh:mm:ss
TIMESTAMP=dd/mm/yyyy hh:mm:ss
Make sure the DATE, TIME and TIMESTAMP has the correct format for your Websydian
Application.
- Open propeties information of the OmniHTTPd server.
Right click on the OmniHTTPd icon on the right bottom of your desktop and select Properties.
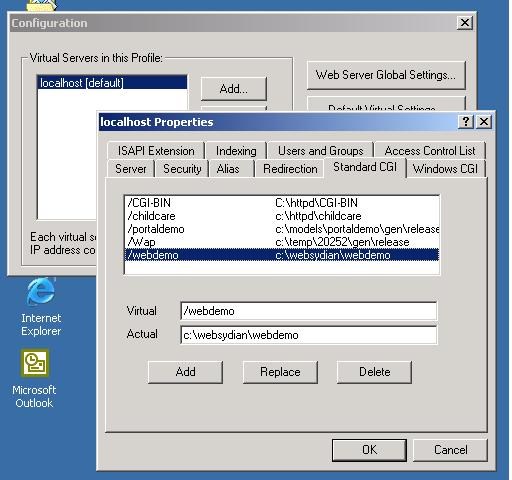
- Create a Standard CGI Alias by selecting the "Virtual server profile" localhost (default) and pressing Edit.
- Select the tab Standard CGI and add information about alias name and location on disk. Press the Add button and press ok and close the OmniHTTPd configuration.

- As the OmniHTTPd is running as a program under the current user just access your web application from your internet explorer to test your application.
In order to add images to your Websydian Application using the OmniHTTPd server you need to create a directory for your images e.g. c:\websydian\webdemo\images and add an Alias in the OmniHTTPd configuration.
When refering to the images on the html pages use the image alias name.

