|
|
Users Guide | Patterns Reference | WebsydianExpress | Search |
|
|
Users Guide | Patterns Reference | WebsydianExpress | Search |
Version 1.0, November 2003
This document describes how to deploy and troubleshoot the Websydian Relay Service on the IBM WebSphere Application Server 5.0 (WAS 5.0).
WebSphere is available for several different platforms and this document have been tested with iSeries as well as the Windows platform. The interface for Linux is the same so this document could also be used to deploy to WebSphere on Linux.
WAS 5.0 comes in an Express and an Advanced edition, and both versions are covered by this document.
This document does not describe the steps to be performed in order to install and setup the WebSphere Application Service. WebSphere Application Server is a product supplied and supported by IBM.
Please note that this document is subject to change.
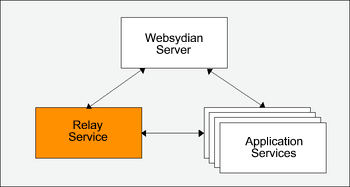
The Relay Service is the component of the Distributed Websydian Architecture that forwards the requests to the Application Services. For further general information on the Relay Service read this document.
Before completing this deployment guide a number of issues have to be addressed.
Use this matrix to insert the information required.
WebSphere Hostname or IP address WebSphere Administrative Console TCP port WebSphere Application Server TCP port HTTP Server Hostname or IP address HTTP Server TCP port
Make sure that the latest version of the DWA Deployment Tool has been downloaded and installed.
Make sure that the Websydian Server has been deployed and is running.
For further information on deployment of the Websydian Server go to the main page of the DWA Deployment Guides.
Make sure to print and fill out the DWA Configuration Sheet before proceeding. The DWA Configuration Sheet is a way to get an overview of all components required in the Distributed Websydian Architecture (DWA) prior to the deployment.
The bullet numbers, e.g.
![]() , found in this document refers
to the DWA Configuration Sheet.
, found in this document refers
to the DWA Configuration Sheet.
When deploying a servlet all information pertaining the particular servlet is required to be packed into a Web Archive (WAR file). The WAR file is a packed file much like the ZIP file with a predefined structure that holds information about the servlet. The information range from information about the servlet name, parameters of the servlet, URL to be used to the actual jar files containing the code of the servlet.
If you would like to see the contents of a WAR file rename it to a ZIP file and unpack it.
There are a large number of information pertaining the deployment of servlets on the J2EE environment and servlet engines. Often the J2EE server is supplied with a deployment tool for packaging the WAR files. Websydian is providing a small tool to package the Relay Service with the correct information.
This deployment guide uses a WAR file to deploy the Websydian Relay Service.
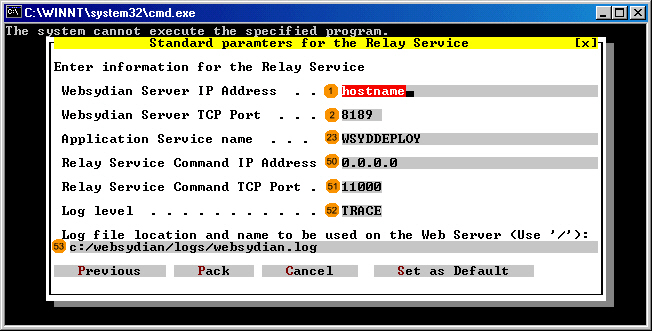
The Distributed Websydian Architecture deployment tools will be used in this document to pack the WAR file and create the Relay Service property file. To deploy the Websydian Relay Service perform these steps.
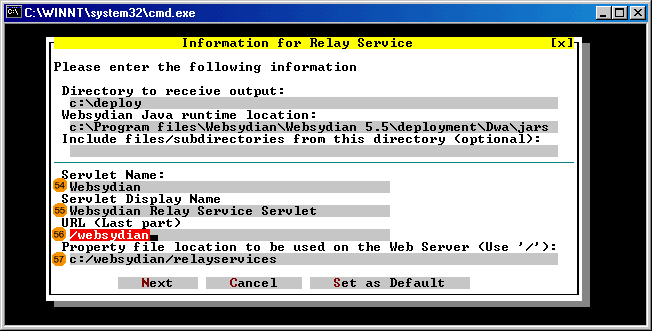
The directory to receive the generated deployment files (WAR file and structure of this).
The directory where the Websydian DWA deployment files are located (wsyddwa*.jar, activation*.jar, log4j*.jar, mail*.jar)
If specified all files and subdirectories of this directory are copied to the WAR file's root directory. Especially useful if including images or static html pages with the relay service used by the Websydian application.
Name to identify the servlet when deployed in the servlet engine.
Short description of the servlet
The last part of the URL to be used.
E.g. http://www.myserver.com/websydian/webshop the last part would be /webshop.
The /websydian is called context when deploying the servlet with the servlet engine.
The final location of the relay service property file to be used on the web server. This information together with the Servlet Name will become the final location and name of the relay service property file.
Note! Use slash ('/') as delimiters to directories.
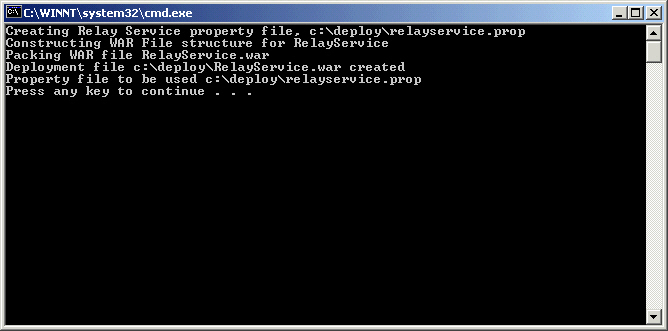
The packaging of the WAR file is performed and the property file to be used is created in the output directory specified. The location of the WAR file is specified along with the property file to be used.
The following section describes the steps to be performed in order to deploy the WAR file created in the previous section.
Before continuing make sure that the supplied demo servlet called snoop is running, this is a way of verifying that the WebSphere has been setup correctly and is running.
Open your internet browser and enter the following information http://yourwebsphere:port/snoop replacing yourwebsphere with the correct host name and the port with the correct port number of your WebSphere installation, this can be obtained from the person who installed your WebSphere Application Server..

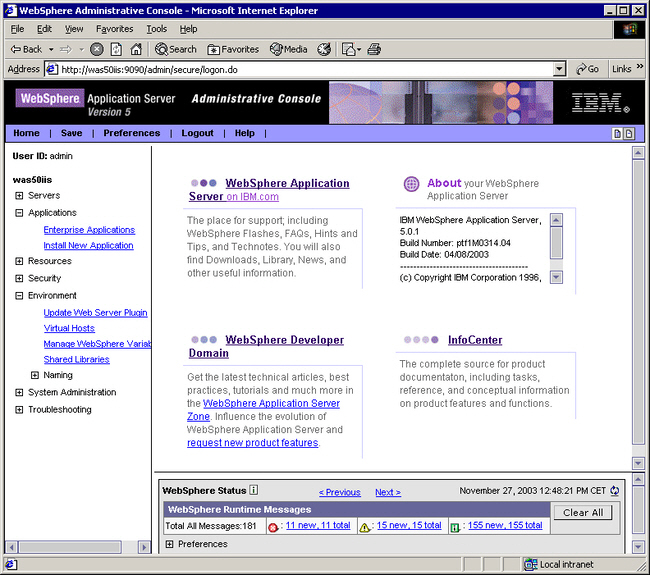
After verifying the snoop servlet is running start the web administration interface of the WebSphere.
Open your internet browser and enter the following URL http://yourwebsphere:adminport/admin, replacing the yourwebsphere with the correct hostname and the adminport with the administration port specified by the person who setup the WebSphere.

Enter your user id, this information is only to identify yourself to the WebSphere administration console. Press the ok button.

In the left hand menu expand the menu item "Applications" and click the "Install New Application"
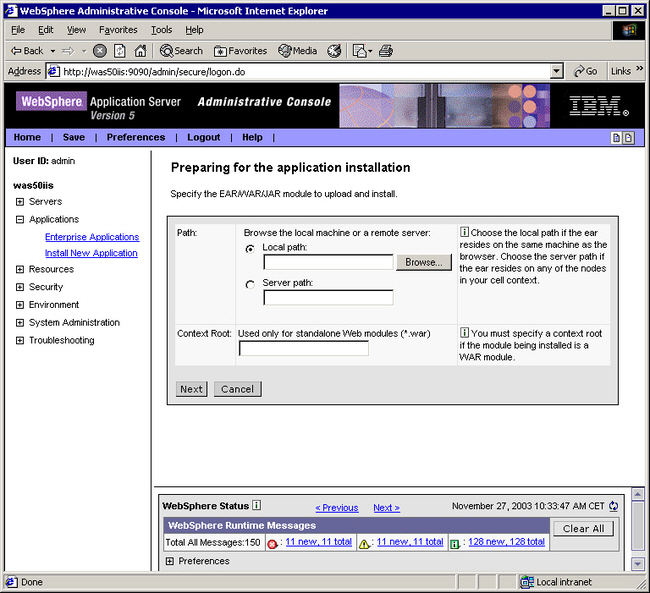
In the "Local path" input field enter the full path and name of the WAR file to be deployed.
In the "Context Root" input field specify the first part of the URL to be used. In the following example the context root is /websydian which will result in the Relay Service being deployed will have /websydian as the first part of the URL.

Press the "Next" button to advance to the next display and keep pressing the "Next" button until a "Finish" button is available.
If the WAR file is not accepted please proceed to the section Troubleshooting the Relay Service.
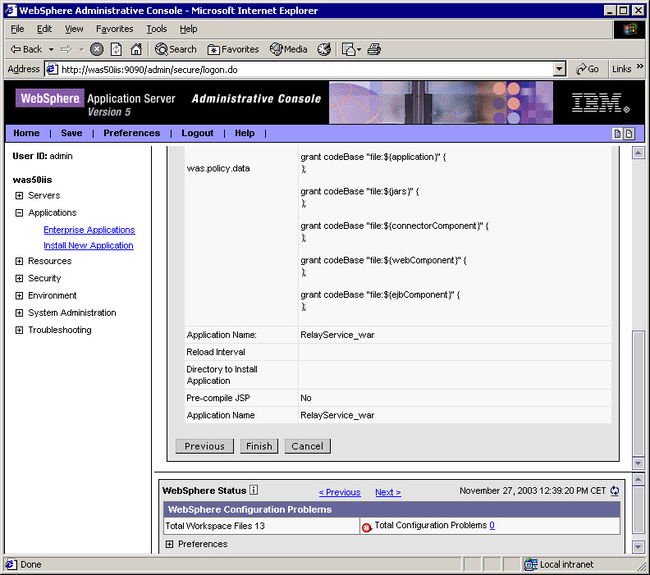
Press the "Finish" button.
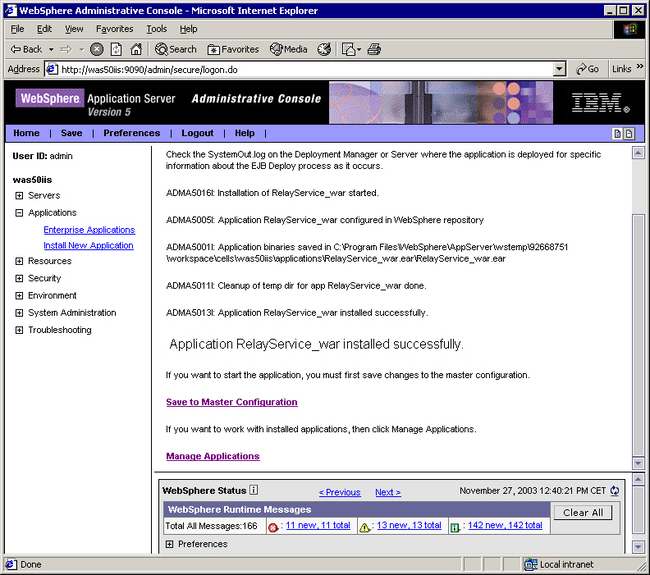
Press the link "Save to Master Configuration"
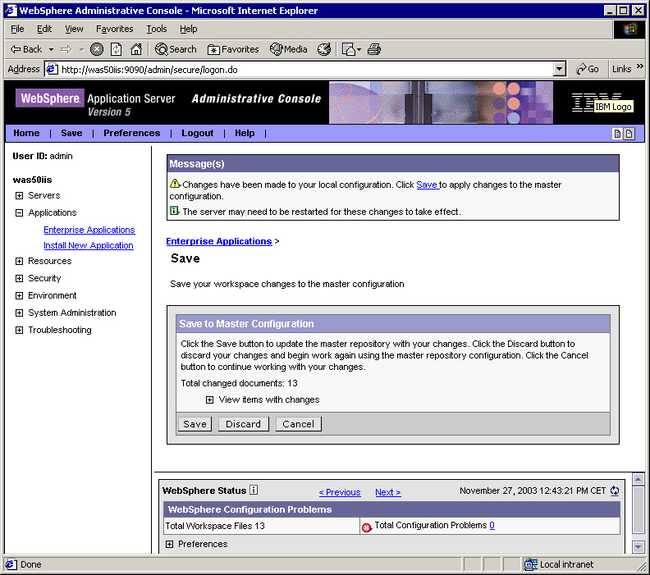
Press the "Save" button to update the Master Configuration.
Expand the left hand menu item "Environment" and press the link "Update Web Server Plugin".
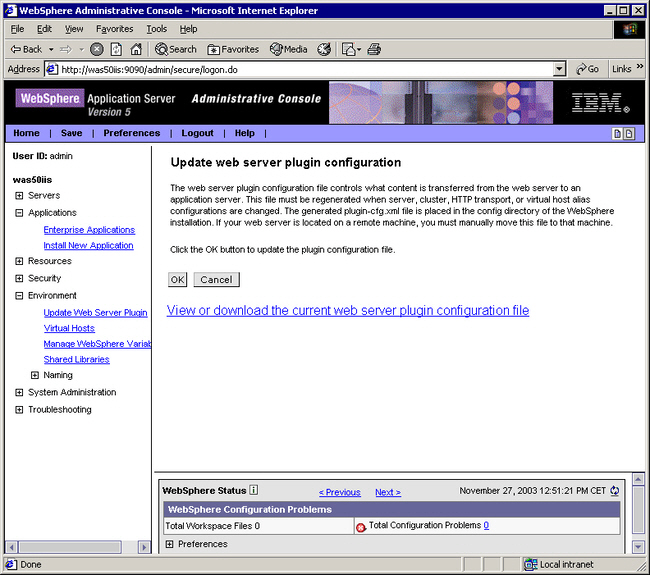
Press the OK button to update the "Web Server Plugin". The web server plugin is used by the http server to forward the URLs maintained by the WebSphere Application Server.
On the left hand menu select the link "Enterprise Applications" scoped under the Applications menu.
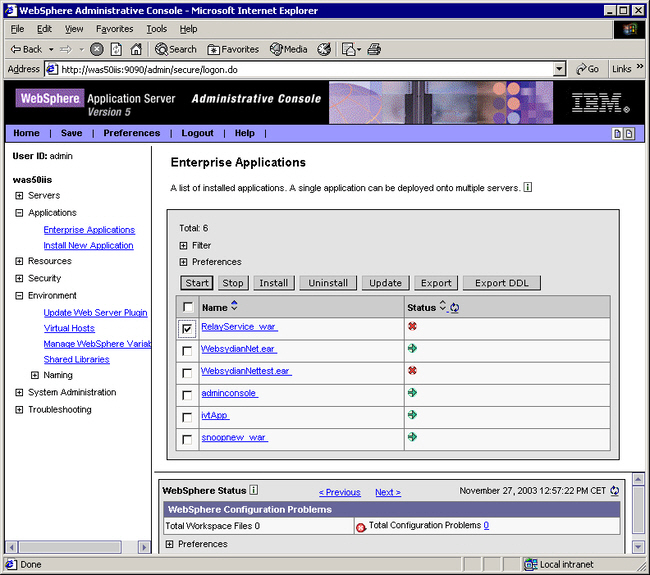
Mark the servlet war file that has just been deployed and press the "Start" button.
The RelayService is now ready to process requests. The RelayService is not initiated at this stage but will be when the first request is received.
The Relay Service is now ready to receive the first request. As the Relay Service receives the first request it will initiate and perform the following tasks:
In order to verify that the Relay Service is functioning correctly perform the following step:
e.g. http://myhostname:myport/websydian/test
At this point you should receive an error message, in the log file and in the browser stating
Error message: [PkaError(Unclassified)]:Service name 'xxxxxxxxx' not known by Websydian Server.
or if you have started the Application Services you should see the first page of the application.
If this is not the case please proceed to the section Troubleshooting the Relay Service
Troubleshooting the Relay Service is primarily based on the log file of the Relay Service, a number of errors are also displayed in the browser window upon the first request.
The following is a list of most common errors:
The Websydian Server is not running or the parameters of the Relay Service property file is not correct.
Open the Relay Service property file and identify the parameters of the setting servlet.log.file and verify that the parameter is correct. Also make sure that the user running the Relay Service has the required authorization to create and update files in the specified directory.
The Relay Service has requested for information about an Application Service with a service name that does not exist in the Websydian Server.
Make sure that the Application Service is started, and that the service name stated in the Relay Service property file and when starting the Application Service is similar, note that the service name is case sensitive.
The message unable to get token can occur for a number of reasons:
This indicates that the parameter servlet.commandipaddr located in the Relay Service property file is pointing to an IP address not located on the computer running the servlet engine. Make sure that the correct IP address or hostname is specified for this parameter.
This indicates that the parameter servlet.commandtcpport located in the Relay Service property file is pointing to a TCP port that is already in use. Change the parameter to a port that is not in use.
The following list describes a number of issues that can help to provide better performance of the Relay Service.